A Tesla Vehicle API / Salesforce Integration.
Monitor, Log, and Control your Tesla from your very own free Salesforce org in 5 easy steps.

All Tesla vehicles are connected to the cloud over an owner REST API. This is how they are able to allow owners do cool things remotely like: turn on the AC on, lock/unlock doors, honk the horn, upgrade the software, and the list goes on. Although Tesla doesn’t officially promote this concept to 3rd parties, they don’t seem to prevent people from making applications that leverage this API.
Below is an application I wrote that leverages the Salesforce platform to connect to your Tesla(s). Because it’s on the Salesforce platform, you can even extend/tweak it to your liking (ie customize your reports/dashboards, plug in your own events/workflow/notifications/etc). To get started, follow the steps below:
Step 1: Create a FREE Salesforce Developer org
- Go here and fill out the form to get your org provisioned.
- Check your email and follow the activation link. From there you will enter a password (remember if your car is going to be connected, you probably want a strong password 🙂 )
Step 2: Prepare your org
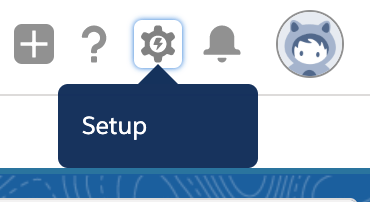
Once logged into your org, you should be on a setup menu. If not, you can always click the gear icon on the upper right hand corner to get back to setup.
From setup, search for “My Domain” from the Quick find search on the left panel. This should filter down the menu to see Company Settings > My Domain. Click My Domain.

From this screen, enter a domain to prefix the .my.salesforce.com. Check availability, and Register Domain. When you click register, it will take a few minutes for the domain to be ready. While waiting, you can continue to perform the installation steps until step 5. When you reach step 5, make sure you come back to this screen and click Log In and then Deploy to Users. You will notice that your domain is being used now in your browser URL.

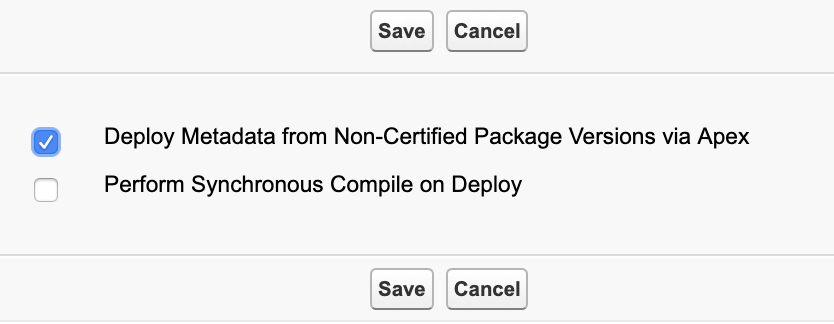
Again from the setup screen, search for “Apex Settings” from the Quick find search. Click Apex settings. From this screen, select “Allow Metadata from non-certified packages”, and click Save. This option will be required until I get this application published to Salesforce’s AppExchange officially. Essentially, this will allow the Tesla Tracker package to save/update settings that are stored in Salesforce org’s metadata (ie your unit of measure preference, your google map api key, etc). For more information, see Metadata Access in Apex Code.

The final configuration to prepare your org is to update your timezone. This will make sure all the timestamps are displayed in your local time. To do this, again from setup, Quick find search for Users. This will show the list of users in your org. Click Edit on your user, and in the sea of settings, find Time zone, and select yours. Click Save.


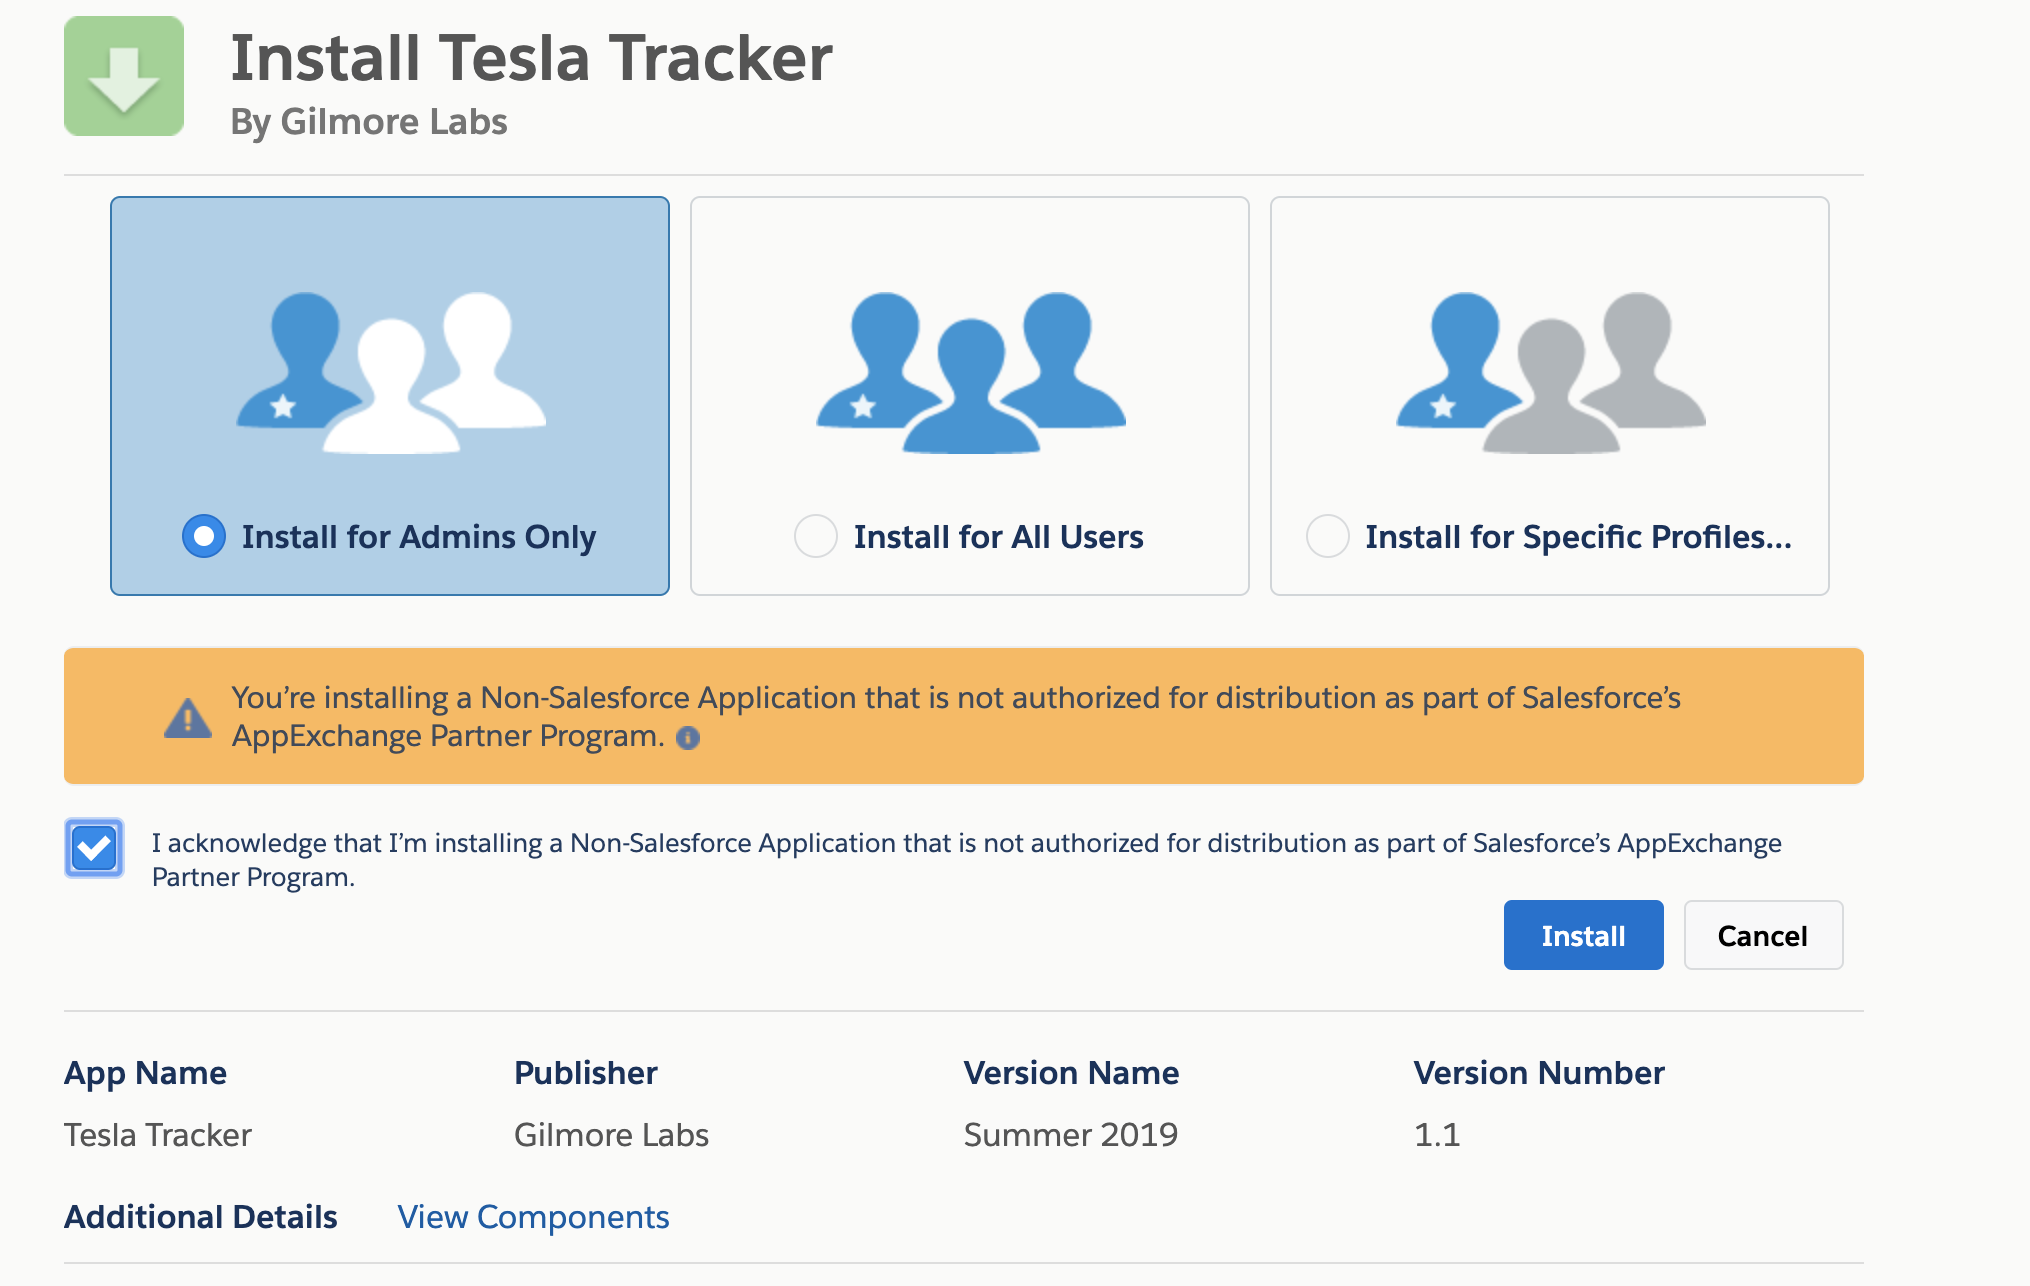
Step 3: Install the package
- While logged into your org, open a new tab with this link. (If prompted to login again, do so).
- Now select “Install for Admins Only”, agree to the terms, and click Install. This will take a minute to install.
Step 4: Store your Tesla Credentials
Once the package is installed, you have to enter your Tesla credentials into a “Named Credential” setting, so that the org can make callouts to the Tesla API. Named Credentials are a secure way of storing user credentials in a Salesforce org for this purpose. For more information, see Named Credentials. For more information about how security works with this application, see The Fine Print section below.
To set this, from the setup menu, enter “Named Credentials” in the Quick find. Click Named Credentials. From here you should see a setting called TeslaAuth. Click Edit on this. Enter your Tesla account credentials in the username, and password field. Don’t change any other settings, and click Save. This completes all the setup menu changes.
(note: Tesla recently changed around how api authentication works in Feb2021, so I had to add a new named credential in v1.4. Ignore the other TeslaAPI named credential. For more info, see this)


Step 5: Connect your vehicle to Salesforce
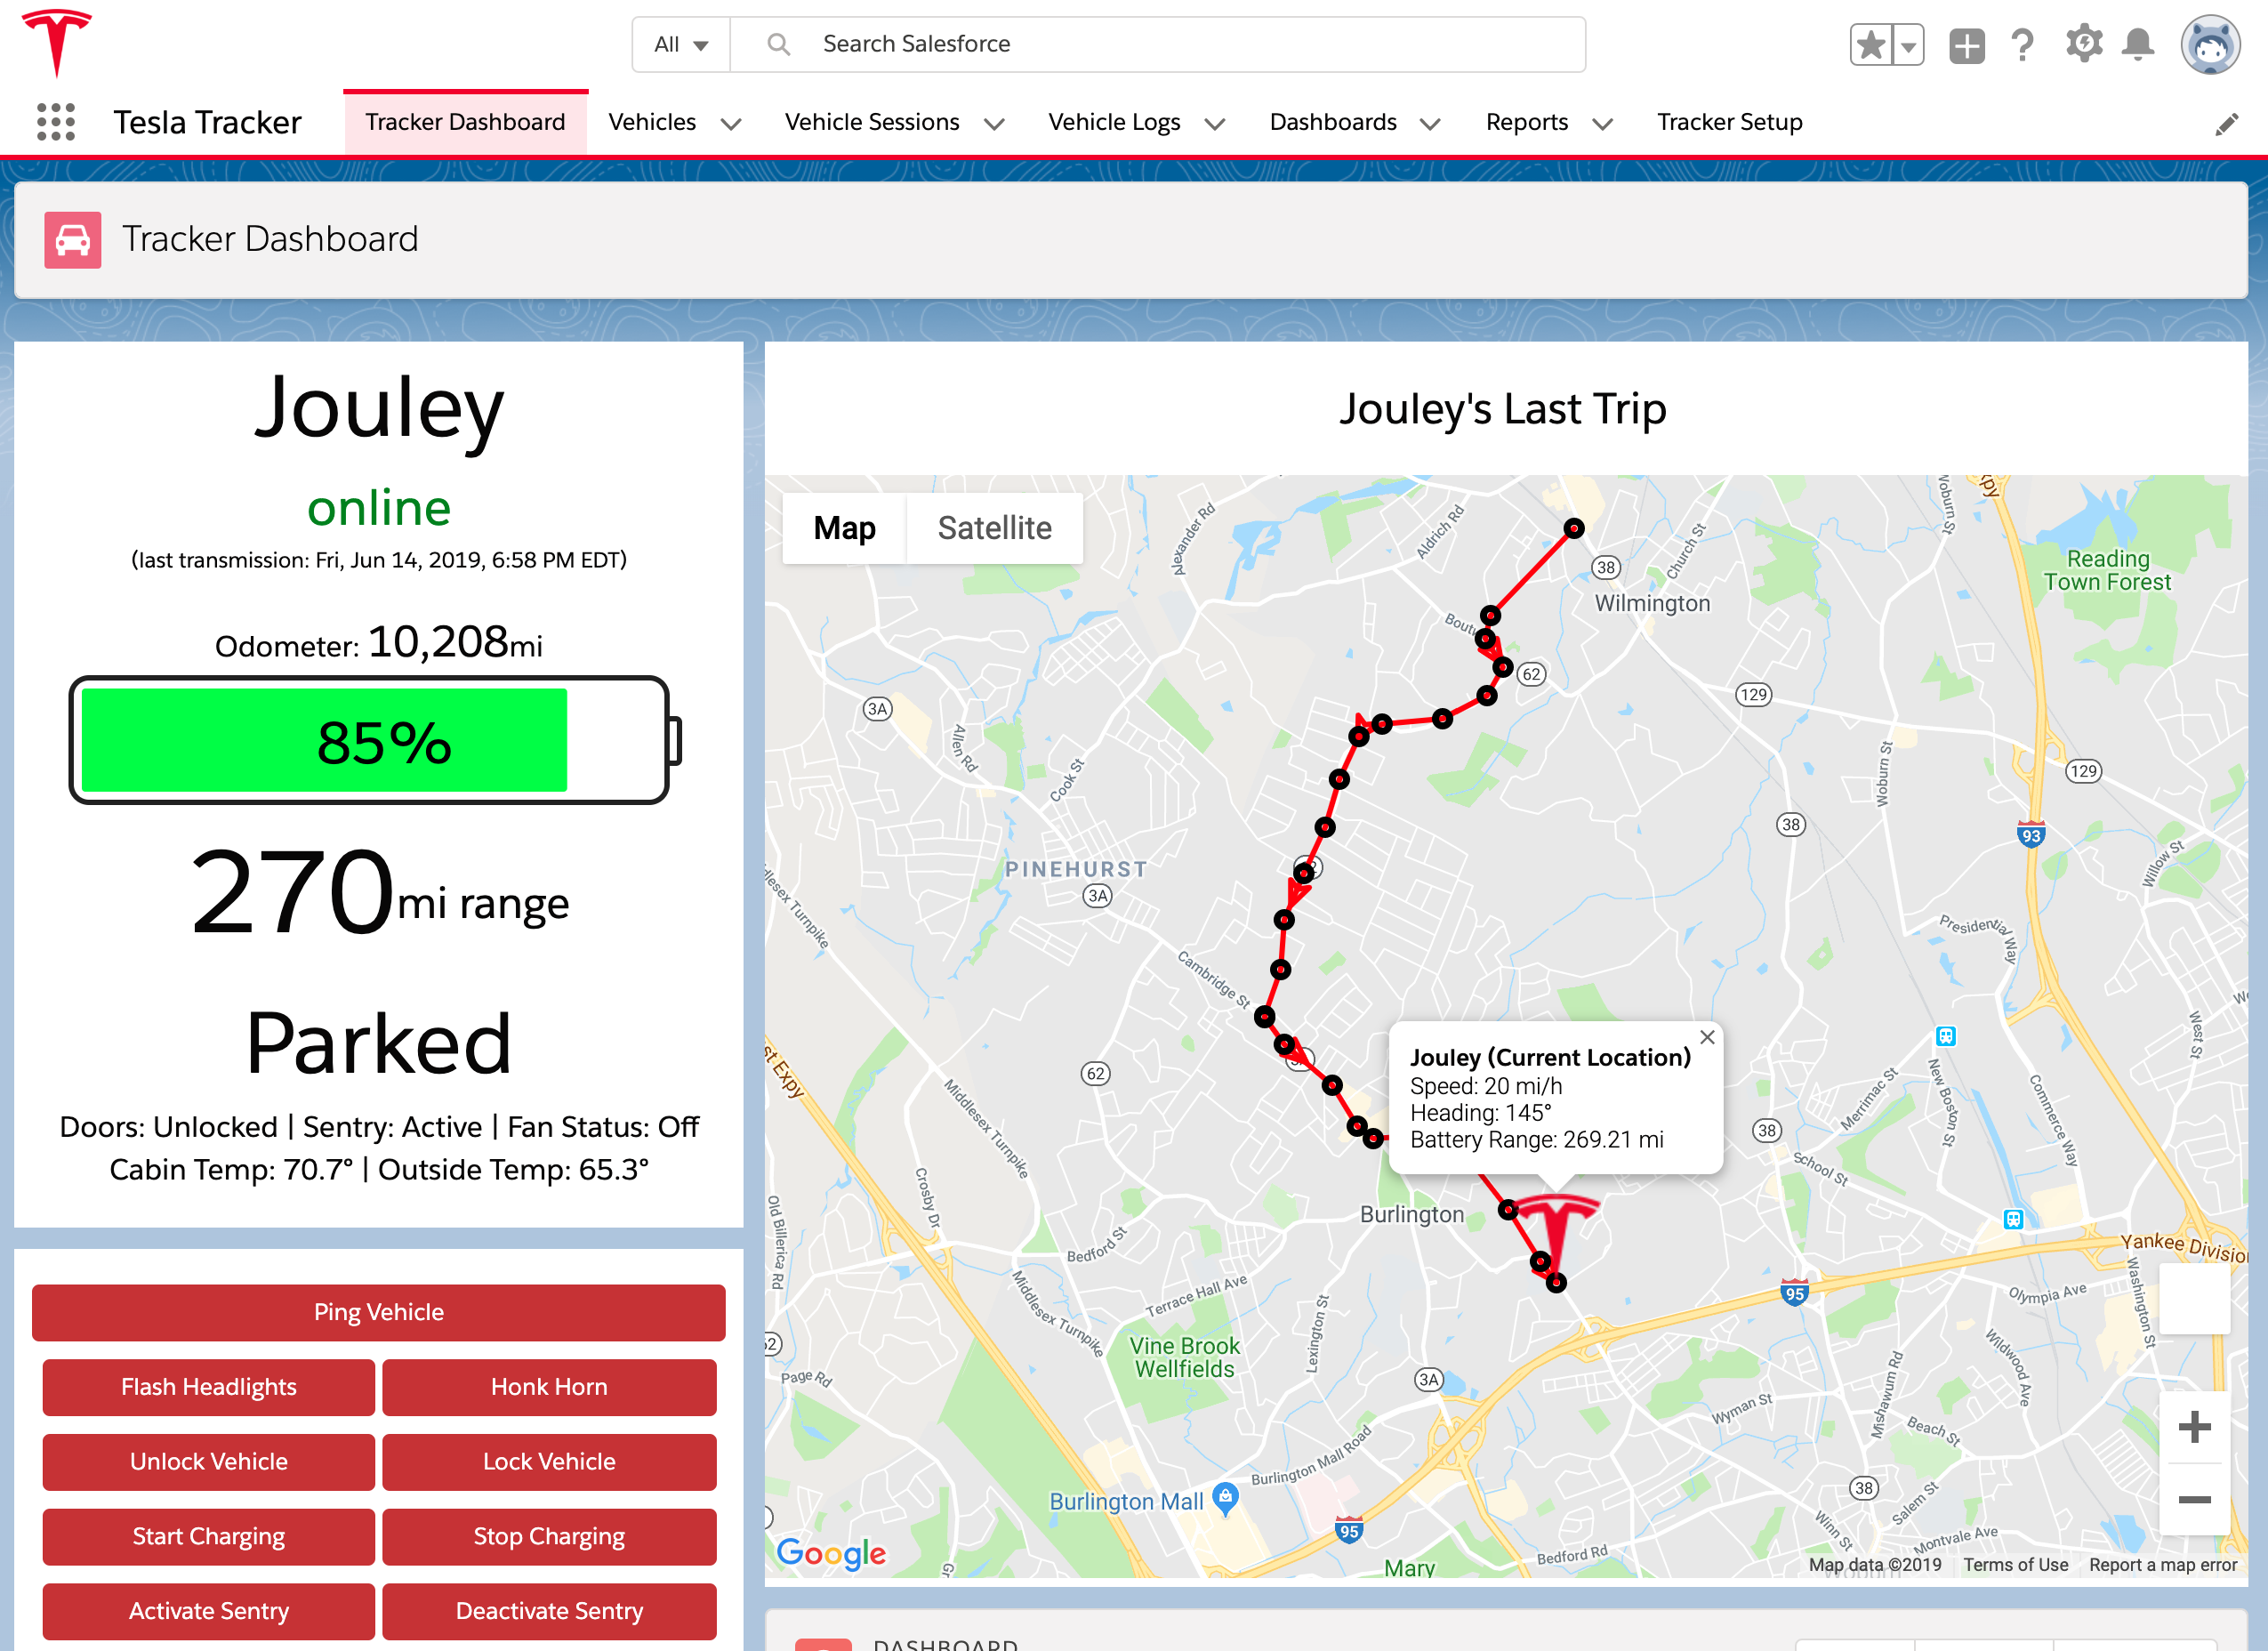
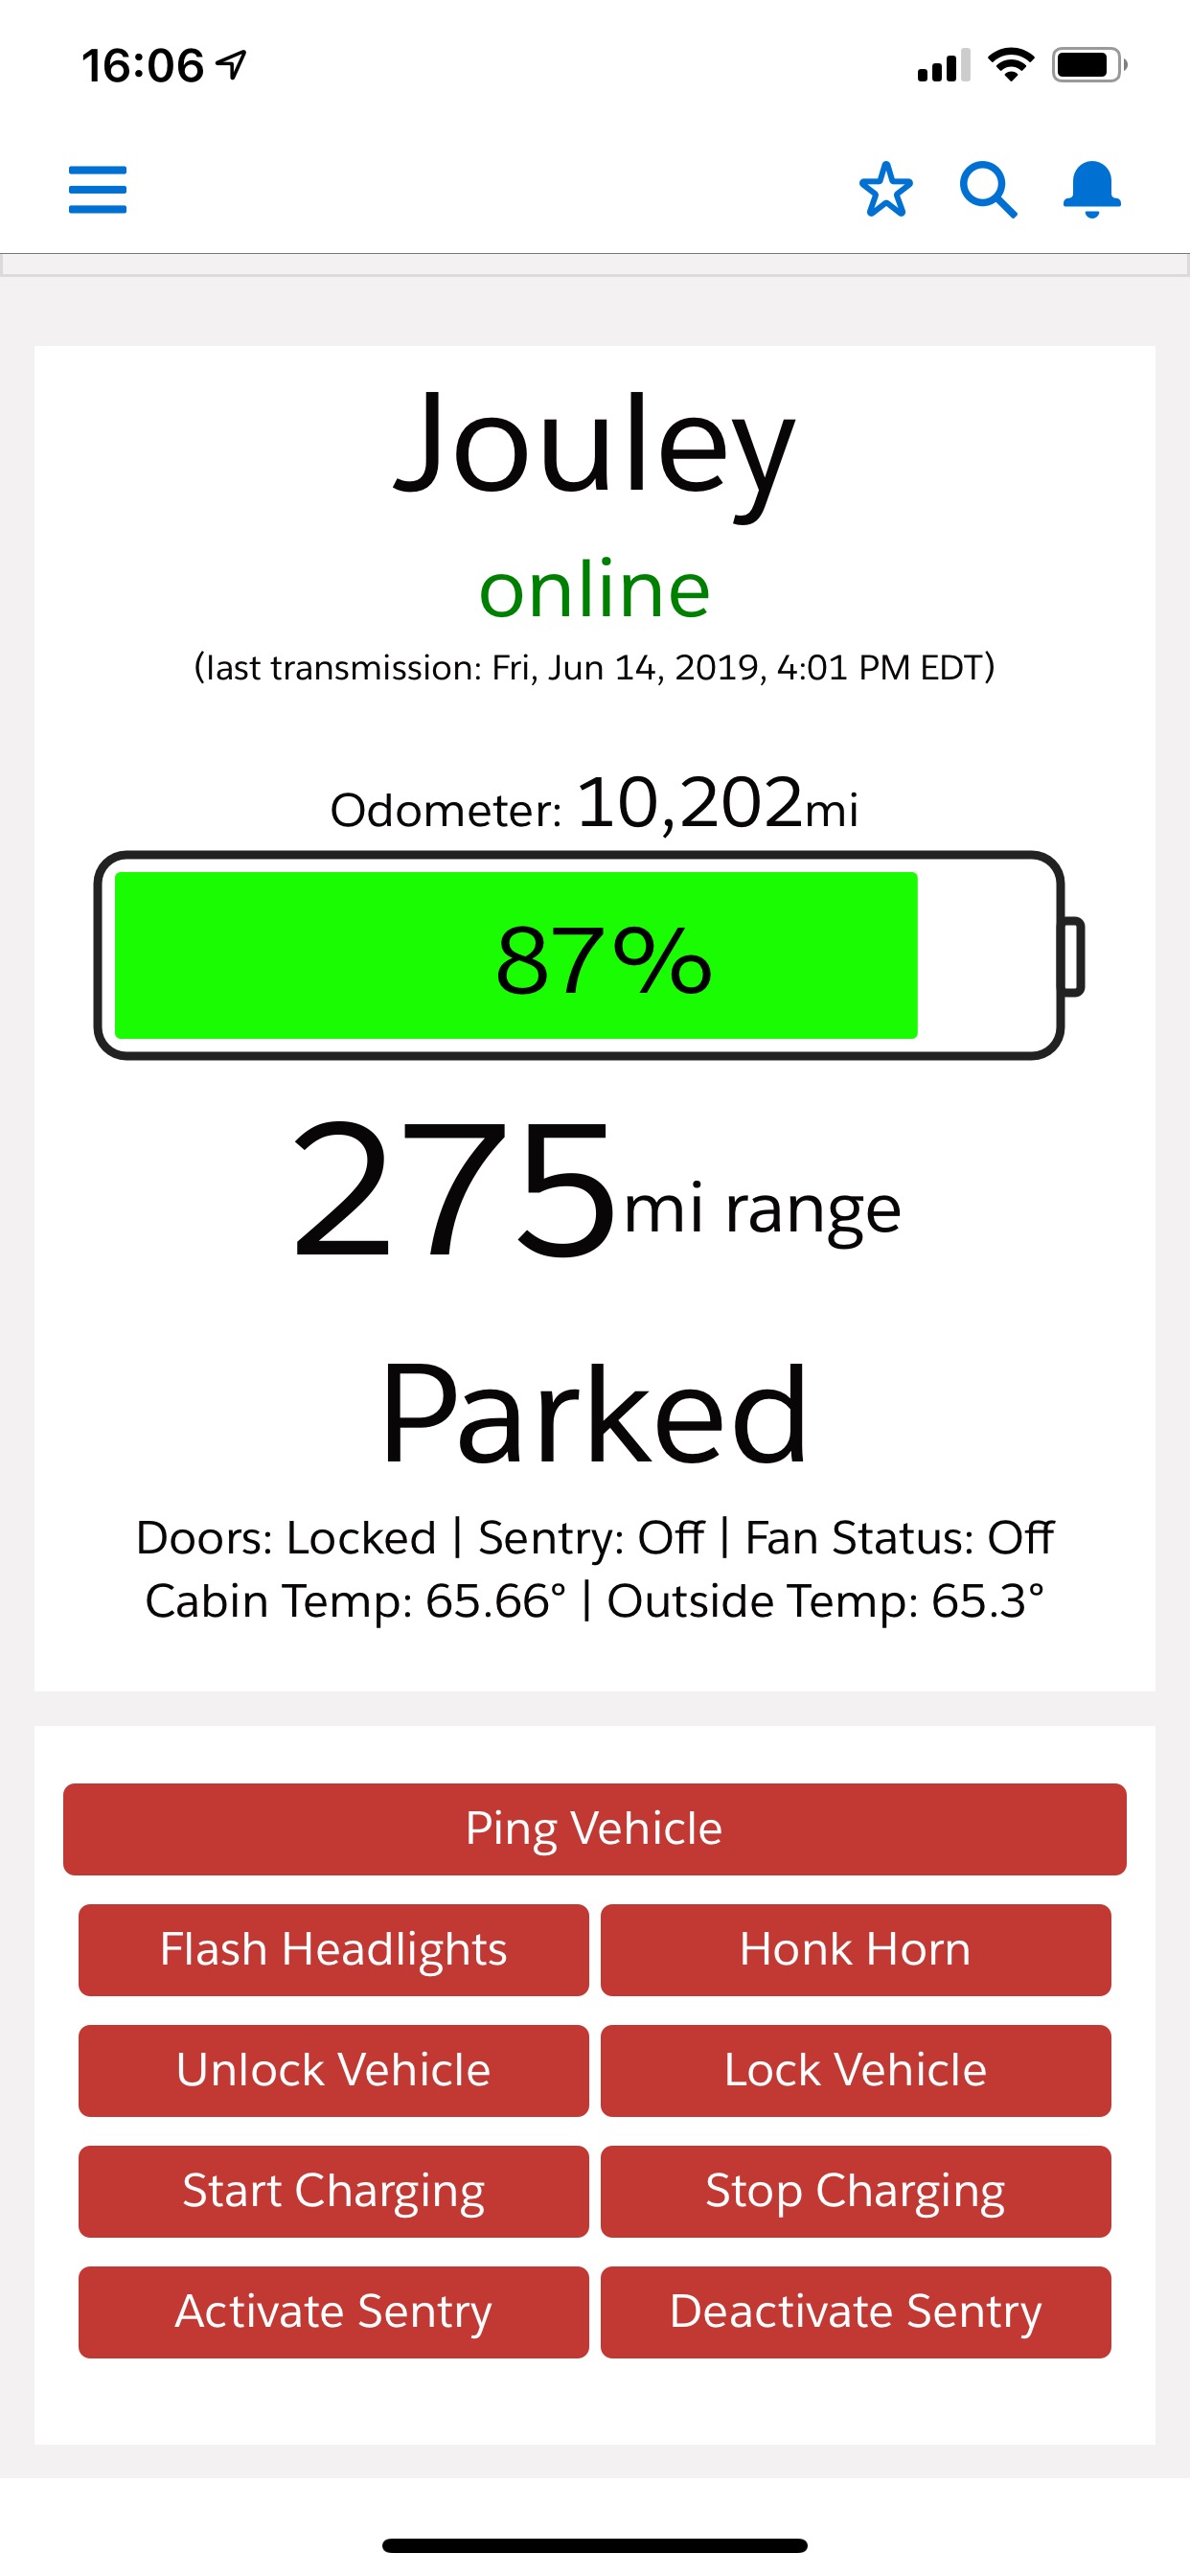
Now the application is installed, and your credentials are entered, we can launch the Tesla Tracker app. Click the App Launcher menu (the 9 dots waffle menu in the upper left), and on the modal that pops up, click Tesla Tracker. This will now show the home screen of the app. Now you can connect your car and enter your settings using the setup flow. Click the Tracker Setup tab (the last tab on the right).
This setup flow will guide you through a series of steps to get your car(s) connected. You can always come back to this tab if you want to change your settings (ie disable a car from monitoring, or update your energy cost multiplier).
- The first screen confirms that you have set your named credentials from step 4. Say yes and click Next.
- The second screen allows you to set your basic settings around your preferred Units of measure, how much you pay per kWh (if currency is different from USD, you may need to change your currency settings on your user like you did for timezone), and your Google Map JS API key. You can leave the API key blank if you want to come back to it later, but having a valid API will prevent watermarks over the maps. Click here to get a Google Map API key.
- The settings are then saved. Click Next to then have the application callout to your Tesla account to retrieve your vehicles.
- If successful, the application will present your vehicles one by one. Here you should enable the vehicle for monitoring (ie track logs), and set the basic info around what battery size you have and what the maximum range is rated for your vehicle. Click Next and repeat the process for your other vehicles.
- Click Finish to complete the setup. Then click the Tracker Dashboard tab, to go to the home screen.
- To ping your vehicle for the first time, Click the button in the command window Ping Vehicle.


Usage
There are three main objects that are used to store records about your vehicle. Each of these objects have tabs in the Tesla Tracker app:
- Vehicle: This object is used to store information about each vehicle connected to your Tesla account, and its state. Most people will only have one record of this type (unless you connect multiple vehicles).
- Vehicle Log: This object tracks each ping sent to your vehicles. Each log represents a point in time where the vehicle reports a ton of information about the vehicles current state (everything down to how fast the fan is blowing for the AC). You can inspect and tinker with any of these records, to maybe make workflow associated with them (for example, it would be easy to create a workflow rule that says, if the car ever enters a geofenced polygon you define, to send an email to you).
- Vehicle Session: This object tracks “sessions” for your vehicles. Sessions are “Parking” sessions, “Driving” Sessions, or “Charging” Sessions. This is a grouping of multiple “Vehicle Log” records (described above), where you can see high level energy usage for things like a recent trip (driving session), how much it cost to charge (charging session), or how much vampire drain you had on a particular day (parking session). Most reports are Vehicle session based.
The application will managing pinging your vehicle on an interval to write a log and assign them to sessions. The general intervals are defined below:
- When the vehicle is driving, it will ping and write a log every 30 seconds. You can track the trip live on the trip tracker map, on the “Tracker Dashboard” tab.
- When the vehicle is asleep or online and “in use” but not driving (ie the screen is on, or sentry is active) it will ping the vehicle every minute to see if the state has changed, but writes a log every 15minutes (except while asleep, where no log is written).
- When the vehicle is parked and not “in use” it will ping and write a log every 15minutes (to allow for the vehicle to sleep).
Reports and dashboards are also available, and the app comes with a dashboard and a few reports. Feel free to modify them to make your own!
Using this, if you know the Salesforce platform really well, you can use this as a foundation to make your own apps. I’ve made some of the functions generic (ie ping vehicle, send a command to the vehicle, activate sentry, etc) in invokable actions, so you can use that to make your own app/workflow.
The Fine Print
- This application is NOT affiliated with either Tesla OR Salesforce. This app is meant to be a proof of concept around connecting two great platforms together. Neither Tesla, Salesforce, nor Gilmore Labs is responsible for anything related to abuse, privacy, or security related issues involved with installing or using this app. See the site’s terms and conditions.
- I think it goes without saying that this app should NOT BE INSTALLED IN ORGS THAT ARE SHARED. You should not install this app in your Salesforce org that you use at your company. ANYONE with access to your salesforce org will essentially have access to monitor and send commands to your car (unless you know a lot about buttoning up Salesforce permissions). You should only install this in an org that ONLY YOU have complete control over and are comfortable with the nature of its security.
- If you want to remove this application for ANY reason, from setup, go to Installed Packages, and uninstall the “Tesla Tracker” app. You may have to disable the vehicle setup workflow first. Uninstalling the application will remove all settings/records/objects related to this app (including the named credentials for your Tesla account).
- Free Salesforce developer orgs have a data limit of 5MB currently. That should only be enough storage for a few weeks of logs. This application also does not clear old logs. If you can somehow get an org with more storage space, I would use that (keep in mind point #2 above). Otherwise, you may have to write a data retention script to clear old logs. I might post something about this later.
- From a security perspective, Salesforce named credentials are used to store your Tesla account information. Those credentials can only be used to make callouts to the Tesla endpoint. The application then encrypts (using AES 256) and stores an OAuth token to use for future callouts in your org. It is your responsibility to keep your org and data secure AT ALL TIMES.
